


Does Chili Freeze Well? A Practical Guide
You’ve just simmered the perfect pot of chili, and the question hits: “Can I freeze the leftovers?”
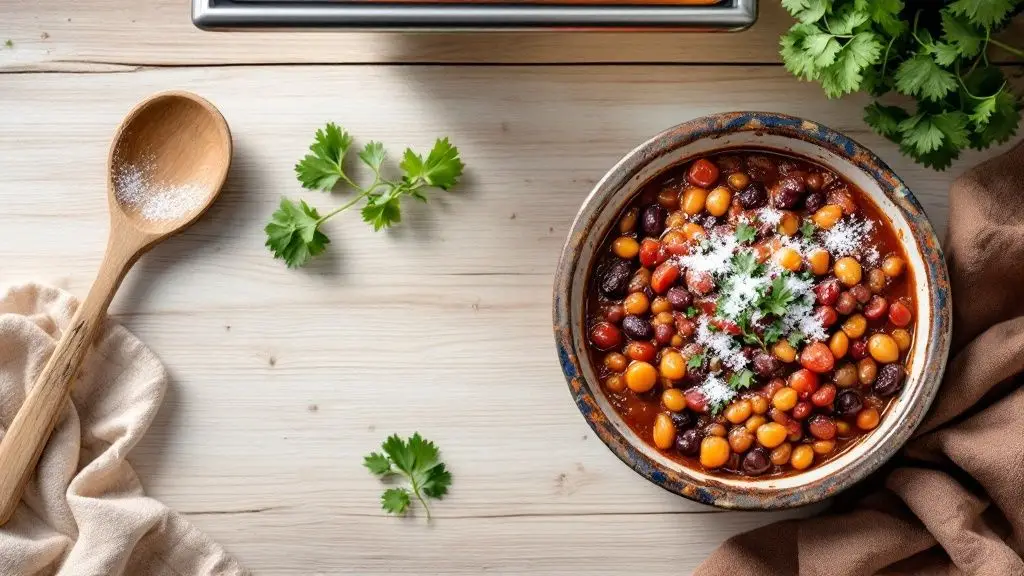
Absolutely. In fact, I’d argue that chili is one of the best meals you can possibly freeze. The magic is in its rich, stew-like consistency—it’s almost as if it was designed to be frozen and reheated.
Let’s dive into why chili is such a freezer superstar and how to do it right.
Why Chili Is a Freezer Superstar
Think about what chili is made of: slow-cooked vegetables, hearty beans, tender meat, and a flavorful liquid base. This combination creates a natural barrier, protecting every ingredient from the dry, unforgiving environment of a freezer.
Unlike more delicate dishes that can turn into a watery, mushy mess after thawing, chili holds onto its incredible texture and robust flavor. If anything, the flavors get even better. Freezing gives all those delicious spices and ingredients more time to meld together, deepening the taste in a way that’s hard to replicate.
This makes chili the ultimate meal prep champion. Making a huge batch means you’re just one thaw away from a soul-warming, home-cooked meal on a busy night. It’s a fantastic strategy to incorporate into your routine, especially if you’re exploring ways for how to meal prep. Freezing basically hits the pause button, locking in that “just-simmered” quality until you’re ready for it.
When stored correctly in an airtight container, your chili will stay in prime condition for up to 6 months, though it’s still perfectly safe to eat for up to a year. Freezing is one of the most effective ways to stop microbial growth, which is what causes food to spoil. You can also learn more about preserving chili peppers and how they hold up in the freezer.
Key Takeaway: Never hesitate to make that double batch of chili. Freezing is a foolproof method to save yourself time and guarantee a satisfying, ready-to-go meal is always on hand.
To help you get it right every time, here’s a quick rundown of the most important steps. Paying attention to these little details makes a huge difference in the final result.
Key Steps for Perfect Frozen Chili
| Stage | Actionable Tip | The Reason It Works |
|---|---|---|
| Cooling | Cool chili completely in the fridge before freezing. Don’t leave it on the counter for more than 2 hours. | This prevents ice crystals from forming, which ruin the texture, and keeps the food out of the temperature “danger zone” for bacteria. |
| Portioning | Divide the chili into individual or family-sized portions before you freeze it. | Smaller portions thaw faster and more evenly. Plus, you only have to reheat what you plan to eat, which prevents waste. |
| Packaging | Use freezer-safe airtight containers or heavy-duty freezer bags. Squeeze out all excess air from bags. | Air is the enemy! Removing it prevents freezer burn, which dries out food and creates off-flavors. |
| Reheating | Thaw overnight in the fridge, then reheat slowly on the stovetop over medium-low heat until it reaches 165°F. | Slow reheating helps the chili regain its original texture without breaking down or scorching at the bottom of the pot. |
Getting these four stages right—cooling, portioning, packaging, and reheating—is the secret to making your frozen chili taste just as incredible as the day you made it.
Preparing Your Chili for Freezing
The secret to a fantastic frozen chili starts long before it ever sees the inside of a freezer. How you get it ready for its icy nap makes all the difference, and the most important thing you can do is cool it down completely.
Shoving a hot pot of chili straight into the freezer is a recipe for disappointment. For starters, it raises the temperature inside your freezer, which can start to thaw other foods nearby—a big food safety no-no. But for the chili itself, this rapid, uneven cooling creates large ice crystals, which will destroy the texture and leave you with a watery, mushy mess when you reheat it.
Cool It Down The Right Way
For safety, you have to get that chili from a bubbling simmer down to 40°F (4°C) within a couple of hours. Just leaving a big, dense pot on the counter simply won’t cut it. My go-to method is a simple ice bath: I just place the pot of chili right into a clean sink filled with ice and cold water. Give it a stir every 15 minutes or so to help it cool evenly, and you’ll be ready for the next step in under an hour.
Another great trick is to divide and conquer. Spread the chili out into smaller, shallower containers. More surface area means the heat can escape much faster.
A common mistake I see is thinking “fridge first, then freezer” is a foolproof plan. It works, but only if the chili is fully chilled before it goes into the freezer. Never, ever seal a container that’s still warm. All that trapped steam creates condensation, which turns directly into freezer burn.
Ingredients to Hold Back
Most chili recipes freeze beautifully, but there are a few ingredients that are always best added on serving day. Their textures just don’t survive the freeze-and-thaw cycle.
- Dairy: Sour cream, cheese, or heavy cream will separate and get grainy. It’s just not a good look.
- Fresh Toppings: Delicate herbs like cilantro are going to wilt and turn an unappetizing brown.
- Crunchy Garnishes: Things like raw onions, tortilla strips, or fresh avocado should always be added right before you eat.
Thinking ahead about these finishing touches is what separates a good reheated chili from a great one.
This quick visual guide breaks down the simple, but crucial, steps for packing up your cooled chili.
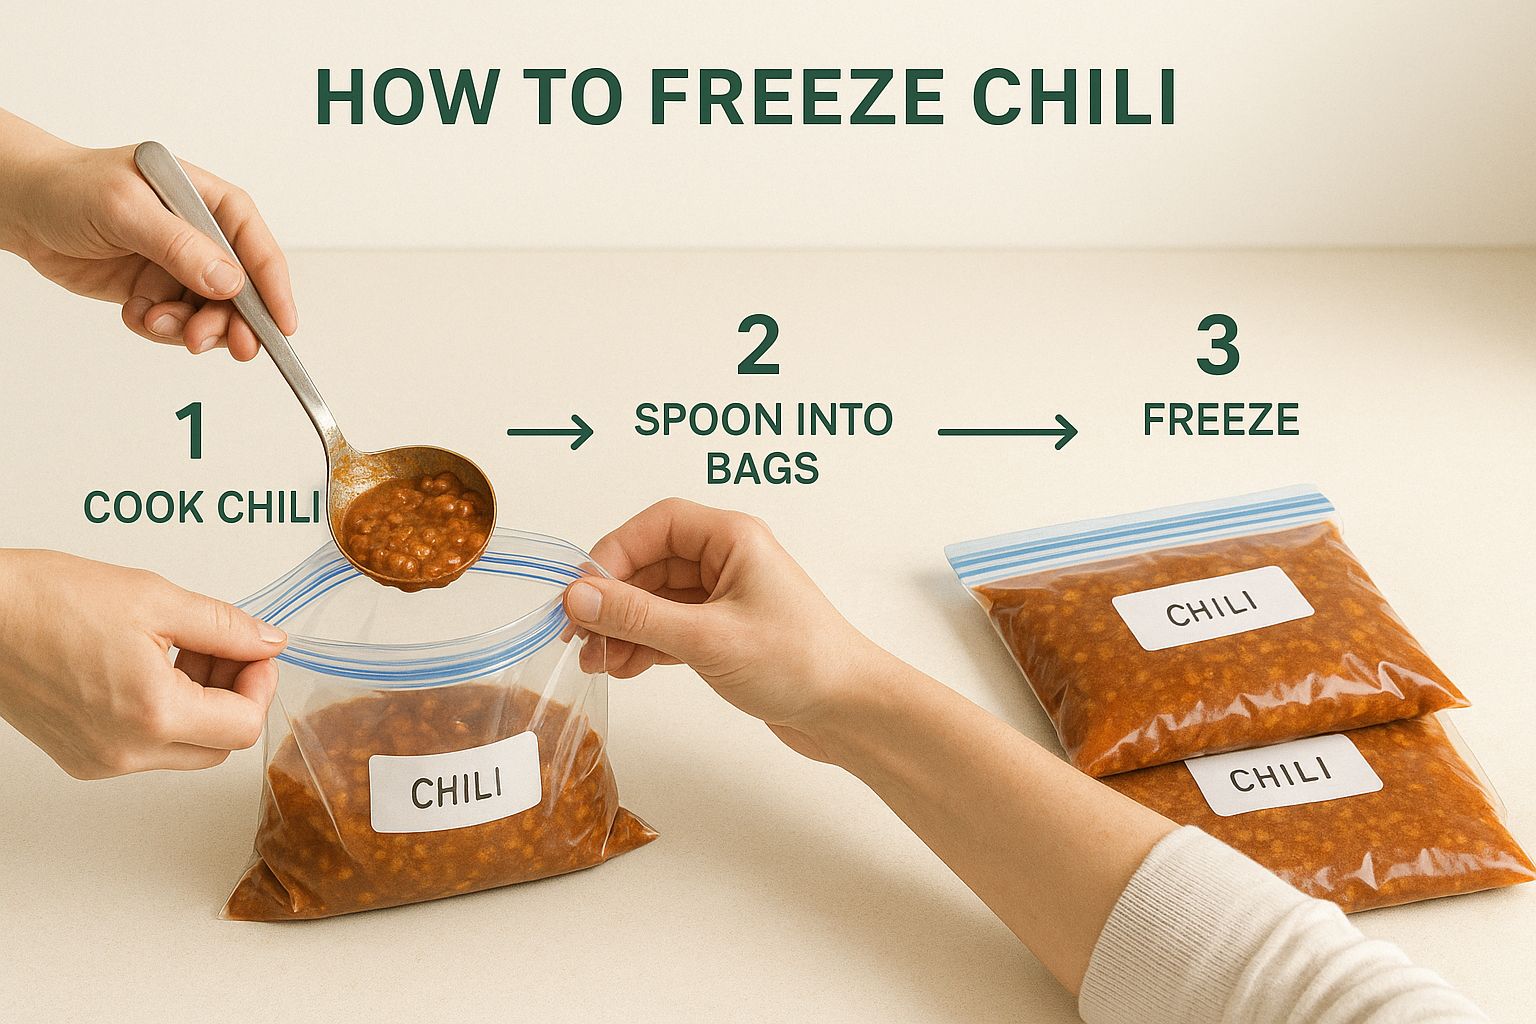
As you can see, using the right size freezer bags and labeling them clearly is the key to keeping your freezer organized and your future meals easy to find.
Choosing the Right Containers to Freeze Chili
The container you pick is your chili’s first line of defense against freezer burn. I’ve found this choice makes a huge difference in flavor, how organized my freezer stays, and honestly, how easy it is to grab a meal on a busy night. Let’s walk through the pros and cons of the best options I’ve used over the years.
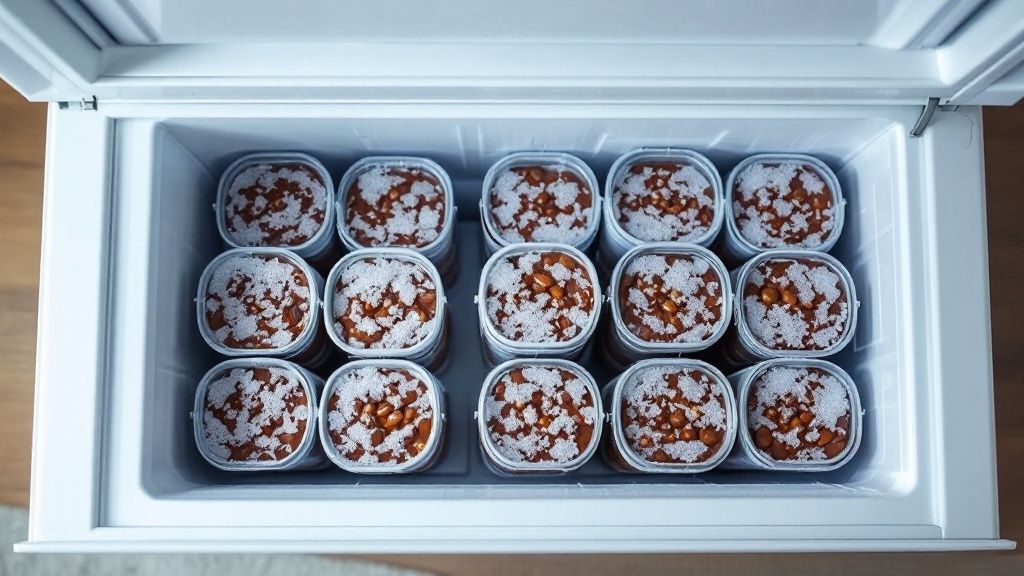
Heavy-duty freezer bags are a game-changer for saving space. My trick is to fill them, squeeze out every last bit of air, and then lay them flat on a baking sheet to freeze solid. Once they’re frozen, they become these perfect, stackable “bricks” that make organizing the freezer a breeze.
On the other hand, rigid containers like freezer-safe plastic tubs or glass containers offer way more protection from getting squished. Glass is my go-to for durability since it won’t stain or hold onto odors, but it is heavier and you have to be careful about sudden temperature changes to avoid cracks.
Portioning for Your Future Self
Before you start filling containers, think about how you’re actually going to use this chili down the road. Are you prepping quick lunches for one? Or are you banking a fast weeknight dinner for the whole family?
- Single Servings: Small, one-to-two-cup containers are perfect for grab-and-go lunches. They thaw out fast and you’re not left with a giant portion you have to eat for three days straight.
- Family-Sized Portions: For future dinners, I use larger containers that hold four to six servings. This saves me from having to thaw a bunch of tiny bags just to feed everyone.
One of the most important lessons I’ve learned is to always leave about an inch of headspace at the top of any container. Chili expands when it freezes, and if you don’t leave room, you’ll end up with cracked containers or burst bags. It’s a messy mistake you only make once.
Container Comparison Quick Guide
Here’s a quick rundown to help you decide what’s best for your kitchen.
| Container Type | Best For | Key Advantage | Main Downside |
|---|---|---|---|
| Freezer Bags | Space saving, bulk storage | Stackable when frozen flat | Less durable, risk of leaks |
| Plastic Tubs | Stacking, durability | Reusable and sturdy | Can absorb odors and stains |
| Glass Containers | Long-term storage | Non-porous, won’t stain | Heavy, breakable, requires care |
Picking the right container really sets you up for success, ensuring your chili is ready to enjoy weeks or even months later. While these durable containers are essential for chili, it’s also worth exploring sustainable options like eco-friendly beeswax food wraps for other food storage needs around your kitchen.
The Best Way to Thaw and Reheat Your Chili
Bringing your frozen chili back to life without turning it into a watery, separated mess is an art form, but thankfully, it’s an easy one to master. The secret is patience. You want to avoid shocking the chili with extreme temperature changes, which is the fastest way to ruin that perfect texture you worked so hard to create.
The safest and most reliable way to thaw chili is also the simplest: just move it from the freezer to the fridge. Let it hang out overnight, or for up to 24 hours if you’ve frozen a big batch. This slow, gentle thaw is the key to keeping the meat and beans from getting mushy.
In a pinch for time? Your next best bet is a cold water bath. Just make sure your chili is in a completely sealed, leak-proof bag or container and submerge it in a big bowl of cold tap water. The important part here is to change the water every 30 minutes to keep the temperature safely chilled. This is a non-negotiable step to prevent foodborne illness.
Reviving Your Chili on the Stovetop
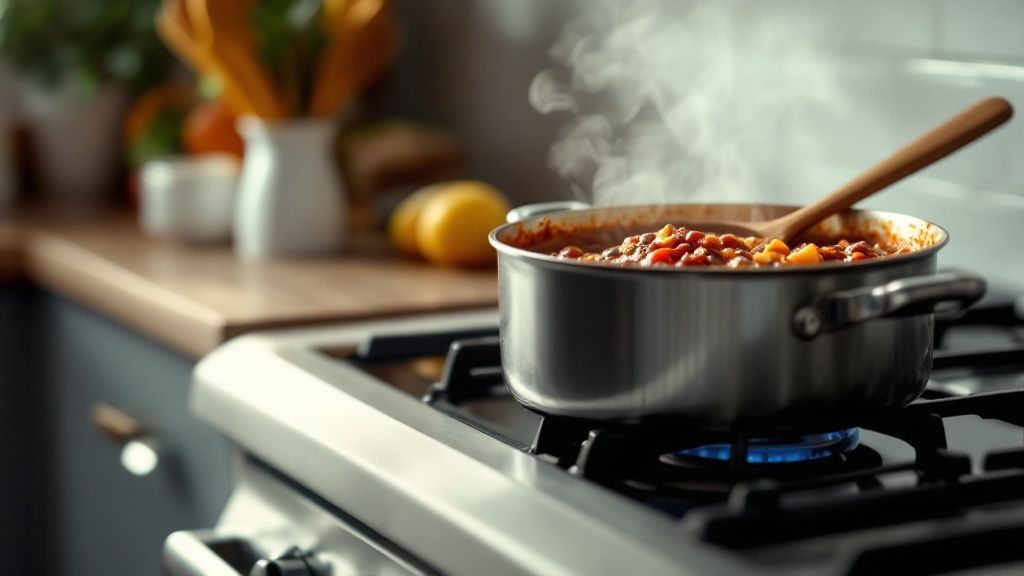
Once your chili is thawed, the stovetop is your best friend for reheating. It gives you maximum control, letting you gently coax it back to a perfect simmer and restore that rich, just-cooked consistency.
Just pour the thawed chili into a pot or saucepan over medium-low heat. Give it a good stir every few minutes so it doesn’t stick and scorch on the bottom. Here’s a trick I swear by: if your chili looks a little too thick after freezing, add a small splash of beef or chicken broth. It loosens it right up and wakes up all those delicious aromas.
Pro Tip: The goal is to get the chili to a safe internal temperature of 165°F (74°C). Don’t guess—use a food thermometer to be absolutely sure every spoonful is perfectly hot and ready to enjoy.
Using the Microwave for Quick Reheating
Look, the stovetop is ideal, but sometimes you just need chili right now. The microwave can get the job done, but only if you do it right. The biggest mistake people make is blasting it on high power, which creates lava-hot spots while leaving other parts ice cold.
Instead, try this for much better results:
- Spoon the chili into a microwave-safe bowl and cover it loosely to prevent splatters.
- Set the microwave to medium power (50%) and heat it in 60-second bursts.
- After each interval, take it out and stir everything thoroughly to help the heat distribute evenly.
This stop-and-stir method is a game-changer. It prevents the edges from turning into rubber while the center is still frozen solid. It’s one of those simple but effective techniques that make all the difference, and you can find more like it in our guide to the top cooking tips for chefs. Taking a few extra moments guarantees your reheated chili will be just as delicious as the day you made it.
Why Freezing Chili Just Works
When you tuck a container of chili into your freezer, you’re not just saving dinner for a rainy day. You’re using a preservation method that’s trusted by home cooks and massive global food suppliers alike. The short answer to “does chili freeze well?” is a definite yes, but the why behind it is a bigger story.
Our worldwide obsession with spicy, comforting food has built an entire industry dedicated to moving ingredients across oceans. Freezing is the secret weapon that makes it all possible. It’s what allows countries with perfect pepper-growing climates, like India or nations in Africa, to ship their harvest across the globe. This ensures that even in places with cold winters, we can get our chili fix year-round.
The Global Cold Chain
That journey from a farm field to a supermarket thousands of miles away is a long one, and freezing is what bridges the distance. The whole system relies on what’s called the “cold chain”—an unbroken network of refrigerated trucks, ships, and warehouses that keeps food frozen from start to finish.
Europe, for example, is a huge market for preserved chili products. In 2023 alone, the value of preserved chili imports hit a staggering €279 million. Since most of Europe isn’t warm enough for large-scale chili farming, about 77% of these imports come from developing countries. Freezing is what keeps those peppers fresh on their long journey. You can discover more insights about the global chili market and see just how critical preservation is.
This massive global reliance on freezing reinforces a simple truth: it’s one of the most reliable, time-tested methods for locking in chili’s flavor and quality. Your freezer isn’t just a simple appliance; it’s a miniature version of the same system that helps feed the world.
Common Questions About Freezing Chili
Even if you’ve been meal-prepping for years, the finer points of freezing chili can still be a little fuzzy. But getting the process just right means you can confidently stock your freezer for those days when cooking is the last thing on your mind. Here are some of the most common questions I get, with straightforward answers to help you lock in that perfect flavor.
One of the biggest questions is whether you can freeze chili with both beans and meat. The answer is a huge yes. Because every ingredient is already fully cooked and suspended in that thick, protective sauce, it holds up beautifully. I promise, the beans and meat will keep their texture perfectly through the whole freezing and reheating journey.
What to Leave Out Before Freezing
For the best results when you reheat, some ingredients are much better left out until you’re ready to serve. Think of them as the finishing touches that bring the dish back to life.
- Dairy: Sour cream, cheese, and yogurt just don’t freeze well. They can separate or get a weird, grainy texture. It’s always best to add these fresh right before serving for that creamy finish.
- Fresh Toppings: Delicate herbs like cilantro will wilt into a sad, mushy mess, and anything crunchy like raw onions or tortilla strips will go completely soft. Keep them on the side.
Taking this one simple step ensures your reheated chili tastes just as fresh and vibrant as the day you made it. It’s also one of many easy but effective food waste reduction strategies you can use in your kitchen.
Another popular question is whether white chicken chili freezes well. Absolutely! The same rules apply here. Just make sure to cool it completely before freezing and hold off on adding any cream or cream cheese until you’re reheating it. This is the key to preventing the sauce from splitting and keeping it velvety smooth.
When In Doubt, Trust Your Senses
If you’re ever unsure whether your thawed chili is still good, your nose is your best guide. Any sour or “off” smells are a clear sign it’s time to toss it. While major freezer burn—those large, dry, discolored patches—can ruin the texture, it doesn’t automatically mean the chili is unsafe. But if you have any doubts at all, the safest bet is always to throw it out.
At Culinary Collective Atl, we believe great food should be convenient without compromising on quality. If you love the idea of having delicious, chef-prepared meals ready to go, explore our private chef and meal prep services. Let us handle the cooking so you can enjoy more time for yourself. Learn more at https://www.theculinarycollectiveatl.com.