
How Long to Cook a Frozen Ham An Easy Guide
It’s a scenario every home cook dreads: dinner is just a few hours away, and you realize the ham is still a block of ice in the freezer. Don’t panic. You can absolutely cook a ham from frozen, and I’ve done it more times than I can count. The golden rule is simple: plan for it to take about 50% longer than a thawed ham.
Your Quick Guide to Cooking a Frozen Ham
Cooking a ham straight from the freezer is completely safe, you just need to build in a little extra time. Think of it this way—your oven is pulling double duty. First, it has to gently thaw the ham, and only then can it start the real work of cooking it all the way through.
This isn’t just guesswork; it’s a matter of heat transfer. A frozen block of meat simply takes longer for heat to penetrate. That’s why you’ll need roughly 1.5 times the normal cooking duration. For example, if your thawed ham recipe calls for 20 minutes per pound, its frozen twin will need closer to 30 minutes per pound. The goal is to bring the very center of the ham up to a safe 145°F, and that takes patience. For a deeper dive into the food science behind this, Food Republic has a great explanation.
To get it right, just focus on these key points:
- The 50% Rule: Start your planning by adding 50% to the total cooking time you’d normally use for a thawed ham.
- Low and Slow is Key: Set your oven to 325°F (163°C). A lower temperature ensures the outside doesn’t dry out while the inside is still catching up.
- Trust Your Thermometer, Not the Clock: Timing charts are just an estimate. A reliable meat thermometer is the only tool that will tell you for sure when your ham is perfectly cooked and ready to serve.
Think of this method as your secret weapon for holiday dinners or last-minute meals. By adjusting your timing and trusting your thermometer, you can turn what feels like a kitchen disaster into a perfectly cooked ham—no multi-day thaw required.
Frozen Ham Cooking Time Estimates at 325°F
I’ve put together this chart to give you a solid starting point for estimating your total cooking time. Remember, every ham and every oven is a little different, so these are guidelines. For the best (and safest) results, always, always rely on a meat thermometer for that final confirmation.
| Ham Type & Weight | Estimated Minutes Per Pound | Total Estimated Cooking Time |
|---|---|---|
| Fully Cooked, Bone-In (8-10 lbs) | 27-30 minutes | 3.5 – 5 hours |
| Fully Cooked, Boneless (5-7 lbs) | 30-38 minutes | 2.5 – 4.5 hours |
| Uncooked/Fresh Ham (10-14 lbs) | 35-40 minutes | 6 – 9.5 hours |
Once you have your estimate, it’s all about monitoring. Check the temperature an hour or so before you expect it to be done, then keep a close eye on it until it hits that magic 145°F mark.
Preparing and Cooking Your Ham from Frozen
Once you have a rough idea of your cooking time, you’re ready to get started. And I mean really started. This isn’t just a matter of tossing a frozen block of ham into the oven; a few key steps are the secret to that perfectly juicy, evenly cooked result we’re all after. The whole game is about bringing the ham up to temperature gently, without turning the outside into leather.
First things first, get that oven preheating to a steady 325°F (163°C). This isn’t just a random number—it’s the sweet spot. A moderate temperature like this is crucial because it lets the deeply frozen center thaw and cook through gradually. Go any higher, and you risk a tough, overdone exterior while the inside is still chilly. Trust me, this is the perfect heat for a long, slow roast.
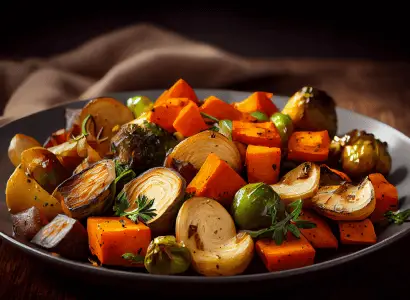
This visual breaks down the simple flow of getting your ham ready for the oven—a critical first step for success.
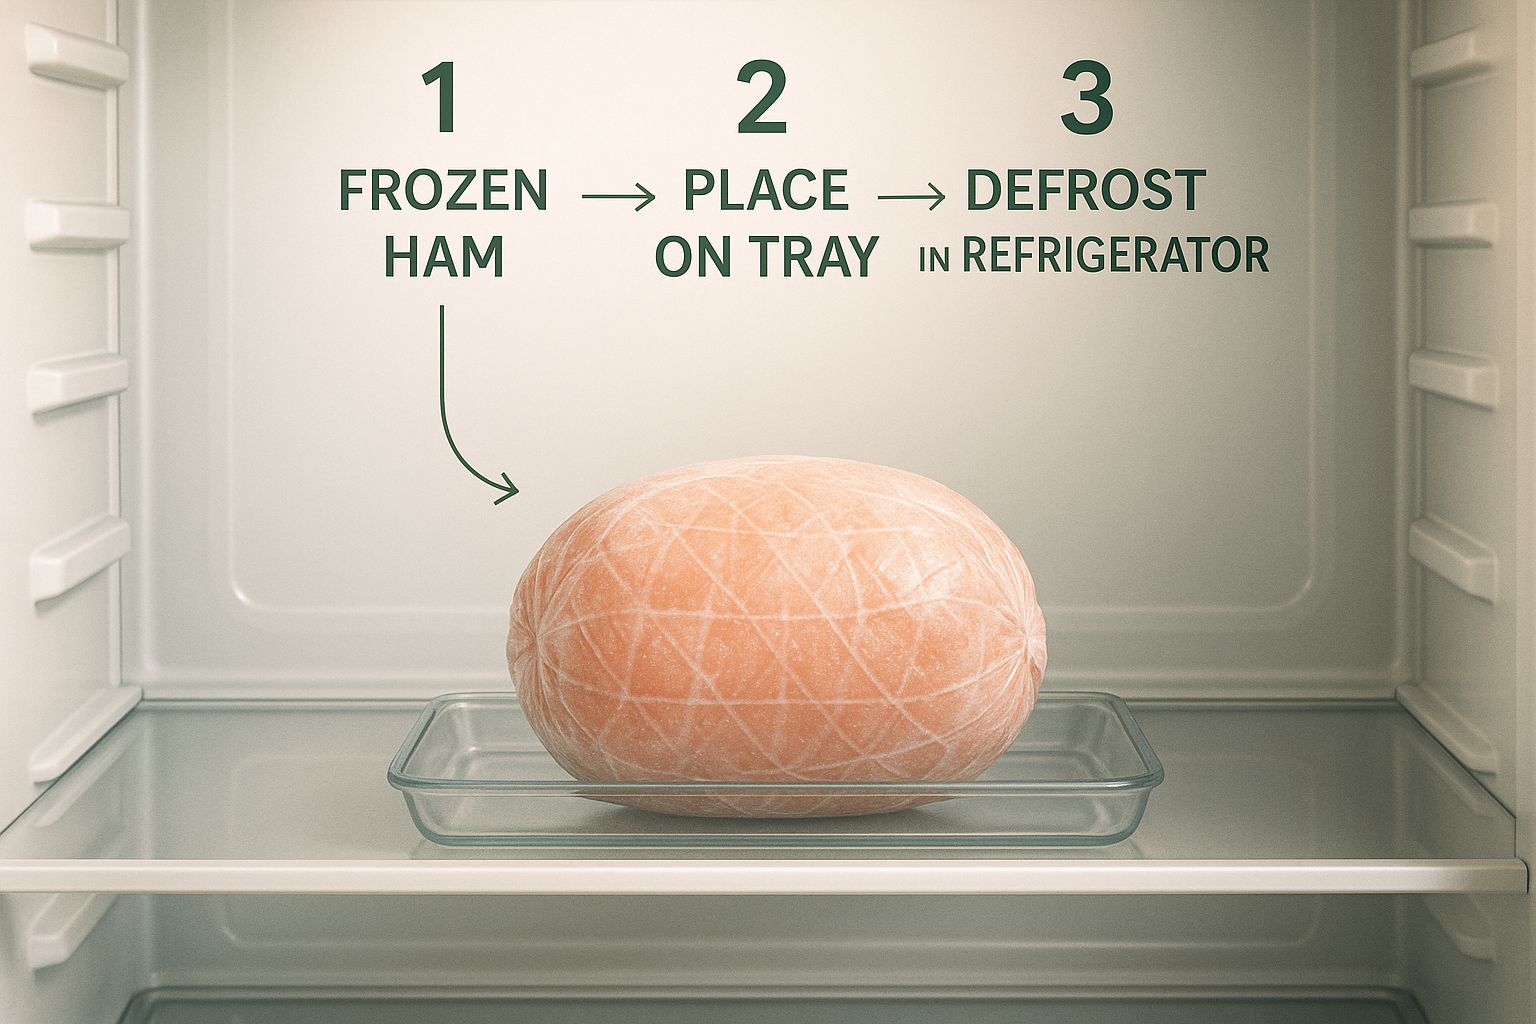
As you can see, setting yourself up for success right from the beginning makes all the difference in how your ham turns out.
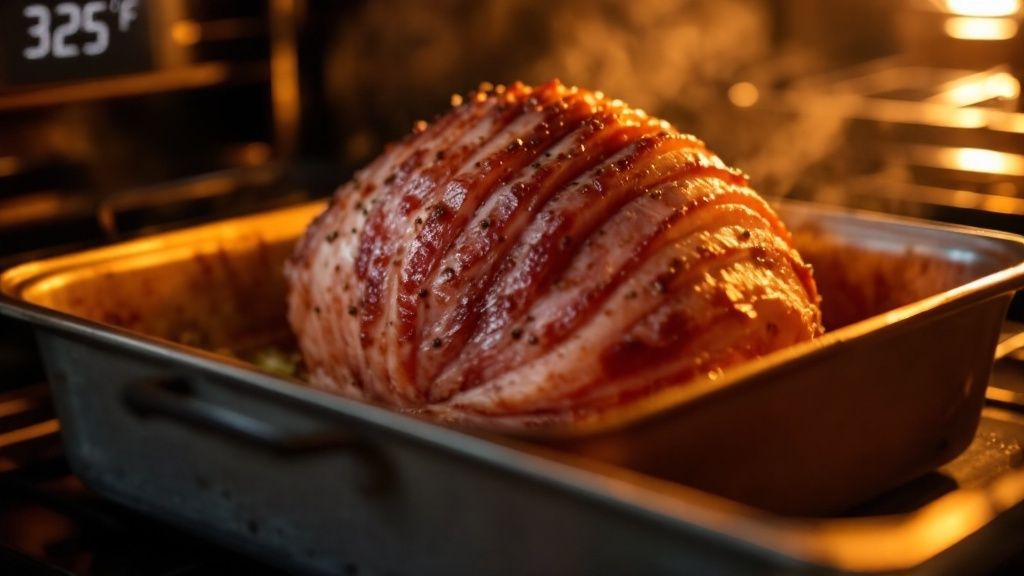
The Two-Stage Cooking Method
Over the years, I’ve come to swear by a two-stage cooking method for any frozen ham. It’s foolproof. The first stage is all about heating the ham through while locking in every bit of moisture. The second, much shorter stage is where the magic of the glaze happens.
Start by placing your unwrapped frozen ham in a sturdy roasting pan. Pour about a cup of liquid into the bottom—water, chicken broth, or even apple juice works beautifully here. This creates a steamy little sauna for your ham, keeping it from drying out. If you want to really nail this technique, our guide on how to use a roasting pan has some extra tips.
Next, cover the pan as tightly as you can with heavy-duty aluminum foil. This is your single most important tool for preventing a dry, sad ham. The foil traps all that wonderful steam, gently thawing and heating the meat for the bulk of the cook time.
Pro Tip: Always place your oven rack in the lower-third position. This keeps the top of the ham from getting too cozy with the heating element, which helps it cook evenly and prevents the top from burning before the rest is done.
For this initial covered stage, plan on letting the ham cook for about 75-80% of its total estimated time. So, if your calculation was a 4-hour total cook, this first stage will last right around 3 hours. During this phase, your job is easy: just let the oven do its thing. No peeking, no basting. The hands-on part comes later when we remove the foil and apply that beautiful glaze. Patience here is what guarantees a tender, delicious result.
Adjusting Cooking Times for Different Ham Types
While the “add 50% more time” rule is a fantastic starting point, it’s not the whole story. The specific cut of ham you’re working with makes a huge difference. Think about it: a dense, compact 5-pound boneless ham will heat through much differently than a sprawling, 15-pound bone-in shank. The shape and the presence of a bone completely change the cooking dynamics.
A bone acts as both an insulator and a heat conductor, which means the meat right up against it can sometimes be the very last part to cook through. This is exactly how you end up with a ham that looks gorgeous on the outside but is still icy in the middle.
Bone-In vs. Boneless Hams
The biggest factor influencing your cook time is whether your ham has a bone.
- Bone-In Hams: These are my personal favorite for their rich, complex flavor. But their irregular shape and the bone itself demand a bit more patience. The bone can slow down heat penetration, so you can’t rush it.
- Boneless Hams: These are usually more uniform, which leads to even, predictable cooking. Once you account for their frozen state, they might even cook a little faster per pound than their bone-in cousins.
A common mistake is treating all hams the same. A bone-in ham needs a longer, slower roast to make sure the meat near the bone is fully cooked and safe, hitting that crucial 145°F internal temperature.
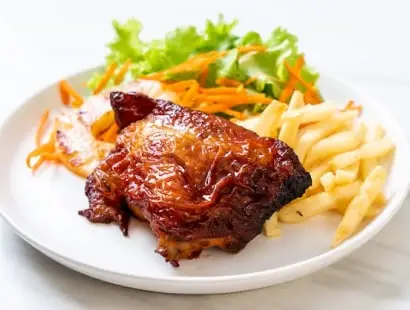
This visual from a great article on ham prep really drives home the point about knowing your cut.
As you can see, different cuts require unique approaches—from timing to glazing—to get the best results.
For a thawed ham, a whole one weighing 10 to 15 pounds needs about 18 to 20 minutes per pound at 325°F. A smaller half ham, around 5 to 7 pounds, needs closer to 20 minutes per pound. The experts at Food52 have more detailed timing guides for various cuts. Just remember to add about 50% to these times when you’re cooking straight from the freezer.
Why a Meat Thermometer Is Your Best Friend
If there’s one tool you absolutely cannot skip when cooking a ham, it’s a reliable meat thermometer. While timing charts are a decent starting point, they are just educated guesses at the end of the day.
Every oven has its quirks. Every ham has a unique shape and starting temperature. These variables mean that temperature—not time—is the only true measure of doneness. Relying on a thermometer takes all the guesswork out of the process, guaranteeing both a delicious texture and complete food safety.
Target Temperatures for Ham
Knowing your numbers is crucial. There are two primary targets you need to remember, depending on whether your ham is pre-cooked or fresh.
- Pre-Cooked Hams: These just need to be reheated to a safe and pleasant temperature. You’re aiming for an internal temp of 140°F (60°C).
- Uncooked/Fresh Hams: These must be cooked thoroughly from raw. The safe minimum internal temperature is 145°F (63°C), followed by a three-minute rest to let the juices settle.
A meat thermometer isn’t just about avoiding a dry, overcooked dinner; it’s a critical tool for food safety. It ensures your ham reaches a high enough temperature to eliminate any harmful bacteria. This is a key step in preventing Salmonella contamination and other foodborne illnesses.
Overcooking is the enemy of a juicy ham. Pushing a pre-cooked ham much past 149°F (65°C) can start to negatively affect its texture and tenderness. That’s why a precise reading is so important.
This principle of temperature over time isn’t just for ham. It’s the same logic we use when figuring out the correct temperature for turkey.
By sticking to a lower oven temperature, like 325°F (163°C), you allow the frozen ham’s interior to cook through safely without turning the exterior into jerky. This slow, gentle heat is your secret weapon for a tender, juicy result every single time.
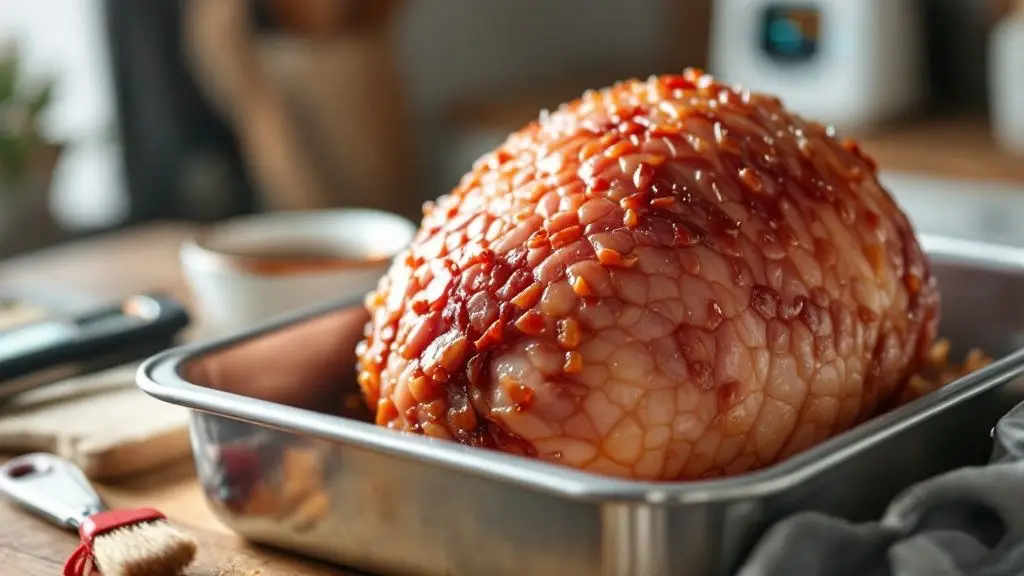
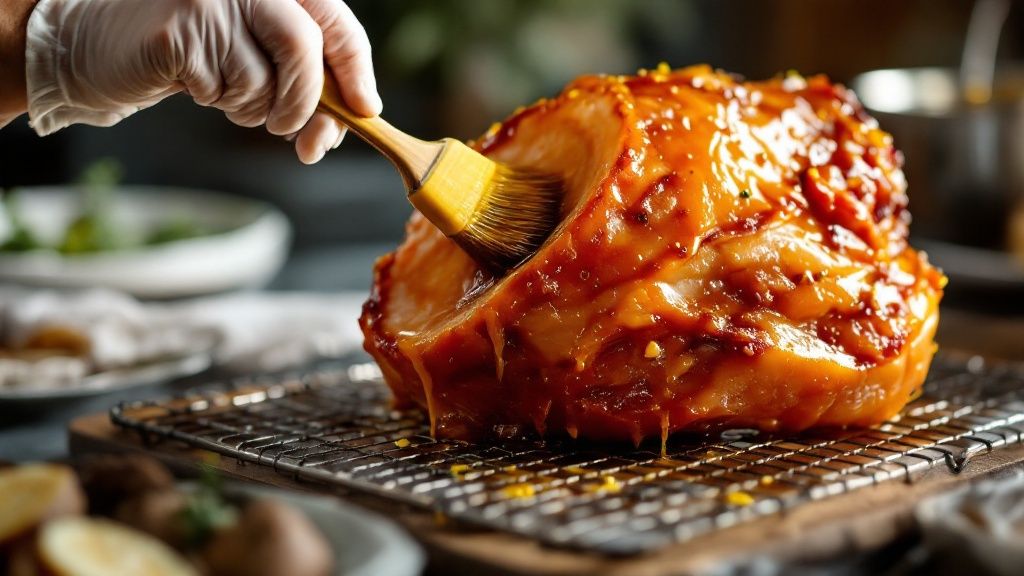
Don’t Burn the Best Part: How to Glaze Your Ham
A sticky, caramelized glaze is the grand finale for any beautiful ham, but timing is everything. This is especially true when you’re working with a ham that started out frozen. If you brush on a sugary glaze too early, you’re just asking for it to burn and turn bitter long before the ham is actually cooked through.
Patience is your best friend here.
The sweet spot for glazing is during the last 30-45 minutes of cooking time. You’ll want to wait until your meat thermometer shows the ham is getting close to its target temperature—somewhere around 125-130°F. This window gives the glaze just enough time to thicken and caramelize without scorching.
Once you hit that temperature, it’s also a good idea to crank the oven up a bit, maybe to 375°F, to help that glaze set up perfectly.
My Go-To Brown Sugar Glaze
Here’s a ridiculously simple glaze you can whip up in minutes while the ham is in the oven. It never fails to deliver that classic sweet-and-savory crust everyone loves.
- 1 cup packed brown sugar
- 1/4 cup honey or maple syrup
- 2 tablespoons Dijon mustard
- 1 tablespoon apple cider vinegar
Just toss everything into a small saucepan and warm it over low heat until the sugar dissolves completely. Brush about half of the glaze over the ham, pop it back in the oven for 15 minutes, then brush on the rest for the final 15-20 minutes of cooking. Easy.
The single biggest mistake I see isn’t about the glaze recipe—it’s what happens right after the ham comes out of the oven. You must let it rest, tented loosely with foil, for at least 15-20 minutes before you even think about carving. This lets all those delicious juices redistribute, guaranteeing every slice is moist and tender.
Skipping the rest is a classic rookie move. This simple step is one of the most important parts of the entire process, a fundamental principle that elevates good cooking to great cooking. Mastering little details like this is covered in many top cooking tips for chefs and makes all the difference.
Common Questions About Cooking Frozen Ham
Even when you’ve got a game plan, cooking a ham from frozen can bring up a few last-minute questions. It’s totally normal. Let’s walk through some of the most common ones I hear, so you can head to the kitchen with confidence.
Can I Cook a Frozen Spiral-Cut Ham?
You absolutely can, but this is where you need to be strategic to avoid a dry, disappointing result. A spiral ham is already pre-sliced, which means it’s much more prone to losing moisture as it heats up.
My go-to method is to place it cut-side down in your roasting pan. Then, add about a cup of water or broth to the bottom of the pan and wrap the whole thing tightly with heavy-duty foil. This creates a steamy little oven inside your oven, keeping the ham moist. Save your glaze for the final 20-30 minutes of cooking—any sooner and it will just burn.
Is It Better to Thaw a Ham First?
From a purely culinary standpoint? Yes, a thawed ham tends to cook a bit more evenly and can result in a slightly more tender texture. But let’s be realistic—thawing a big ham can take 2-3 days in the fridge, and not everyone has that kind of time.
Cooking from frozen is a fantastic, completely safe alternative when you’re in a pinch. The key is simply to budget your time accordingly. Just remember to add about 50% more cooking time than the package recommends for a thawed ham.
Once the ham is perfectly cooked and rested, the job isn’t quite done, especially if you’re serving a big crowd. Keeping it at that perfect serving temperature is crucial for quality. For larger gatherings or holiday feasts, you might even consider professional solutions like catering food warmers to make sure every slice is as good as the first.
What Do I Do After the Ham Is Cooked?
When your meat thermometer hits that magic number, pull the ham from the oven. Now for the most important step, and whatever you do, don’t skip it: let it rest.
Tent the ham loosely with a piece of foil and let it sit on the counter for at least 15-20 minutes before you even think about carving. This simple pause allows all those delicious juices to settle back into the meat instead of running all over your cutting board. It’s the secret to a perfectly juicy slice, every single time.
At Culinary Collective Atl, we turn your dining dreams into reality. Let our private chefs craft a memorable culinary experience for your next event. Discover personalized menus at https://www.theculinarycollectiveatl.com.