How to Use a Roasting Pan for Perfect Results
You might think using a roasting pan is as simple as throwing your ingredients in and shoving it in the oven. And you’re not wrong, but the real magic—that perfectly browned crust and incredibly juicy interior—comes from the details.
Getting it right is all about a few key choices: picking the right pan for the job, using a rack to let the air work its magic, and dialing in the perfect oven temperature.
Your Guide to Roasting Pan Mastery
Welcome to your guide on mastering the roasting pan, one of the most hardworking and underrated tools in any home kitchen. A good roasting pan isn’t just for the holidays; it’s the secret to elevating everything from a simple weeknight chicken to a batch of deeply caramelized vegetables.
This guide will walk you through the entire process, demystifying the small choices that add up to big results. We’ll cover everything you need to know:
- How to choose the ideal pan for your oven and your cooking style
- The essential prep steps for a flawless roast every single time
- Core roasting techniques for different types of food, from poultry to potatoes
- Cleanup tips that make the whole process practically effortless
By the end, you’ll feel completely confident and ready to tackle any roasting recipe that comes your way. Let’s get started.
Choosing the Right Roasting Pan for Your Kitchen
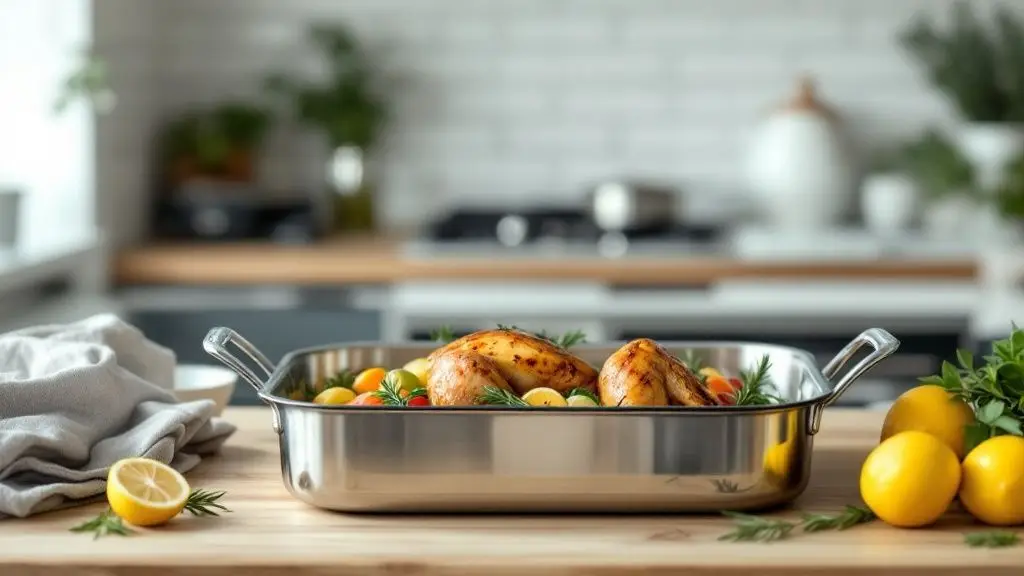
The right roasting pan is more than just a piece of metal—it’s the foundation of countless incredible meals. From a perfectly browned Thanksgiving turkey to juicy, tender weeknight chicken, the pan you choose can make or break the final dish. Its material and size directly impact how evenly your food cooks, and it’s a detail that separates a good cook from a great one.
Honestly, your pan can change the game. A good one distributes heat evenly, preventing those dreaded hot spots that burn one side while leaving the other undercooked. And size matters just as much; you want at least 1-2 inches of space around your food for air to circulate. That’s how you get that beautiful, all-over browning.
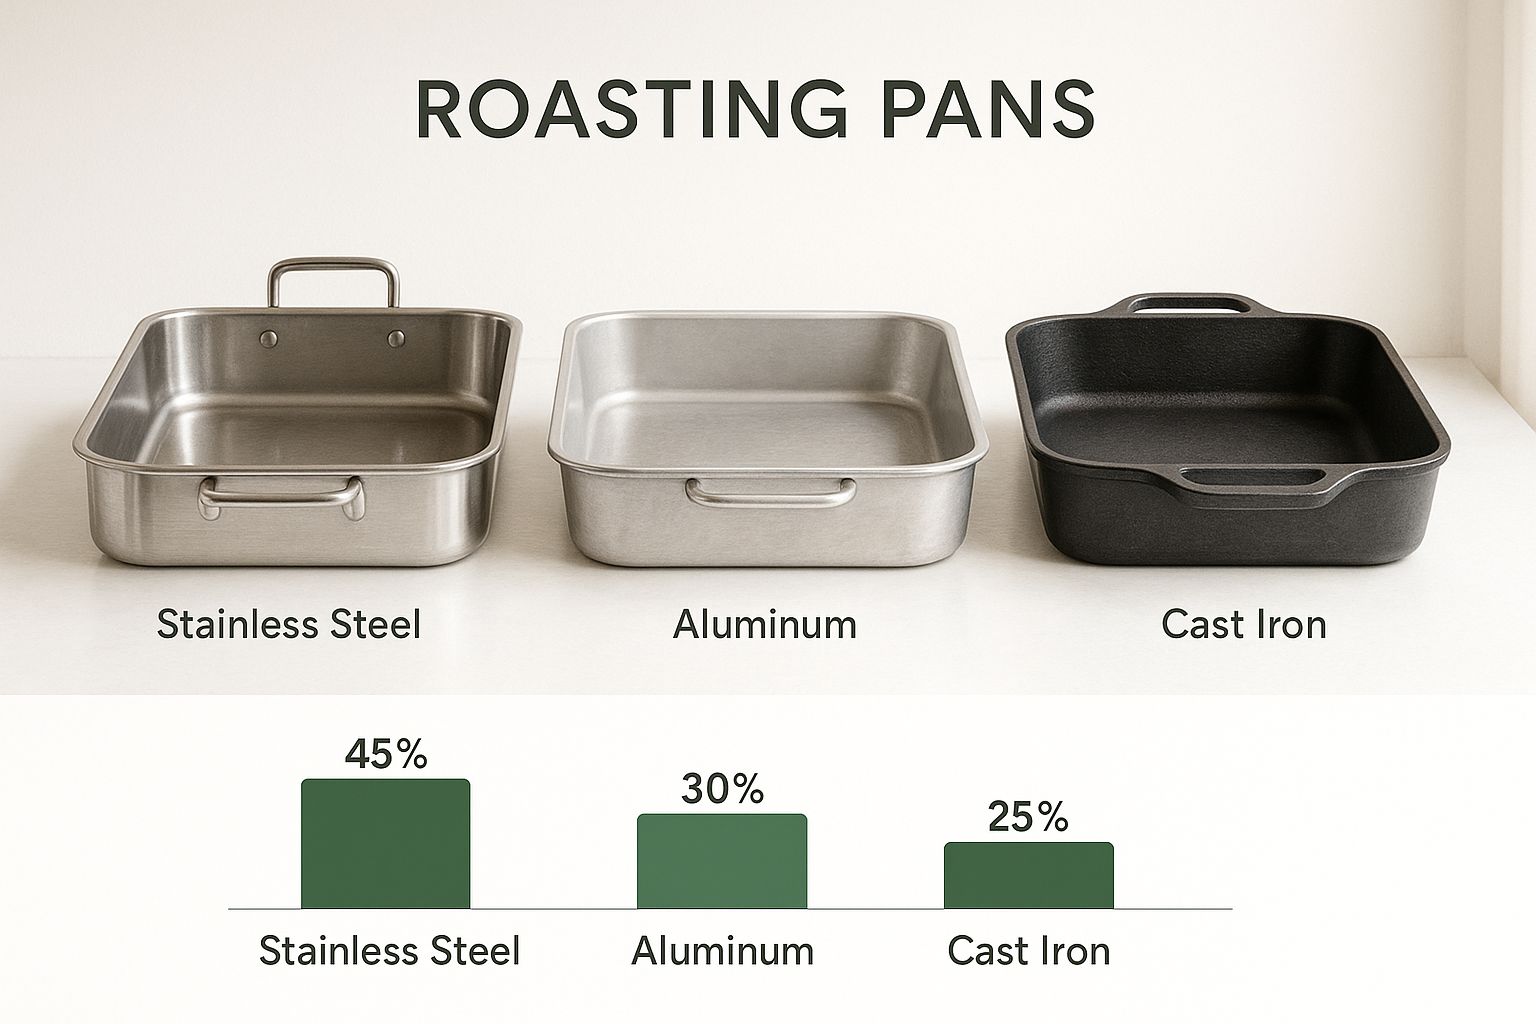
Roasting Pan Material Comparison
Picking a material can feel overwhelming, but it really boils down to how you cook and what you value most—be it heat responsiveness, durability, or easy cleanup. Each material brings something different to the table, and this quick comparison should help you narrow down the options.
| Material | Heat Conductivity | Best For | Care Level |
|---|---|---|---|
| Stainless Steel | Moderate | All-purpose roasting, high-heat searing, and making pan sauces. | Medium |
| Anodized Aluminum | Excellent | Evenly roasted poultry, vegetables, and large cuts of meat. | Low |
| Cast Iron | Excellent (heats slowly but retains well) | Searing, braising, and dishes that go from stovetop to oven. | High |
| Enamel-Coated | Good | Roasts, casseroles, and braises. A great non-reactive option. | Low to Medium |
Ultimately, the best pan is the one that fits your cooking style. For an excellent all-rounder that blends durability with performance, you might want to look into something like an Enamel Deep Roasting Pan, which offers great heat retention and is a breeze to clean.
Prepping Your Pan for a Perfect Roast
Let’s be honest, an exceptional roast doesn’t just happen. It all starts long before anything goes into the oven. Getting the prep work right is the real secret behind that gorgeous, golden-brown crust and deep, savory flavor you’re chasing.
First up, and this is non-negotiable: pat your meat completely dry. Moisture is the number one enemy of a crispy crust because it steams the surface instead of letting it sear and brown. Don’t skip this step; it makes a world of difference.
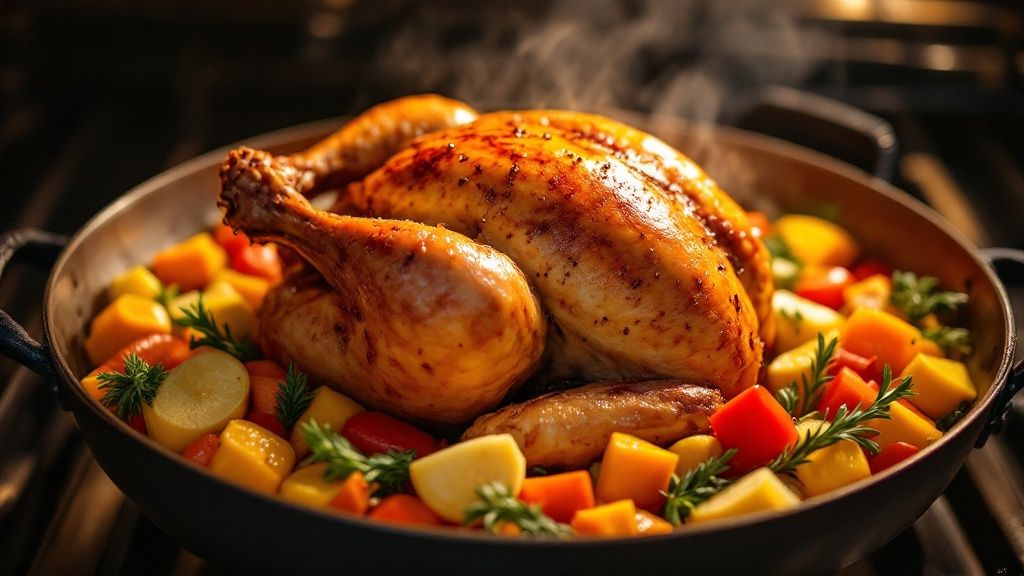
Next, you’ve got to use that roasting rack. Lifting the food up off the bottom of the pan is critical. It allows hot air to circulate all the way around, giving you a perfect 360-degree roast instead of a sad, steamed bottom. This is one of those simple top cooking tips for chefs that immediately elevates your game.
Don’t let that valuable space under the rack go to waste! Toss some roughly chopped onions, carrots, and herbs down there before setting your meat on the rack. As the juices drip down during cooking, they’ll caramelize and create an incredible, flavor-packed foundation for a killer pan sauce or gravy later on.
Mastering Core Roasting Techniques
To get the most out of your roasting pan, you have to start thinking like a chef. That means adapting your technique to the food you’re cooking, not just blindly following a recipe.
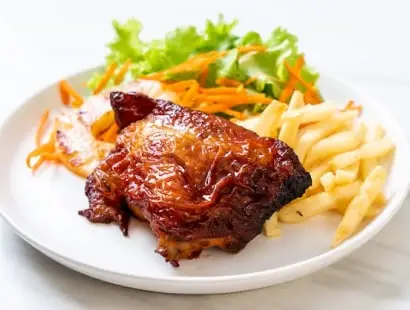
Think about it this way: high, blasting heat is your best friend for getting that perfectly crispy skin on a chicken or turkey. But for tougher cuts like a brisket or pork shoulder, you’ll want to go low and slow to gently break down the connective tissues until it’s fall-apart tender.
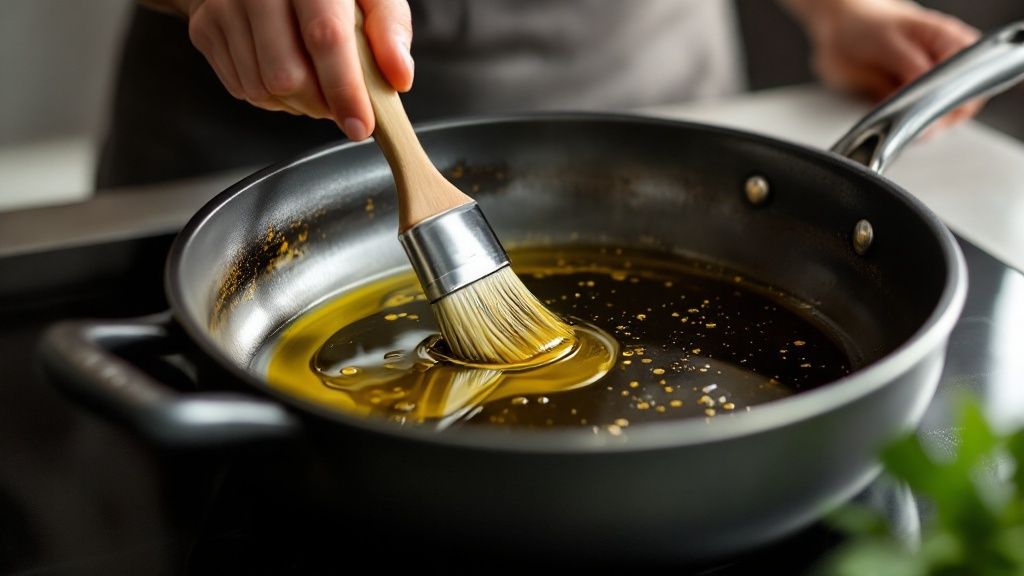
Basting is another one of those classic skills that makes a huge difference. Periodically spooning those pan juices over the top keeps the meat moist and builds layers of incredible flavor.
And whatever you do, don’t wash away those browned, stuck-on bits at the bottom of the pan after you’re done. That’s pure gold, what chefs call fond. Just deglaze the pan with a splash of wine or stock, scraping everything up to create a rich, flavorful pan sauce from scratch.
These fundamental skills are just as crucial for roasting as the high-heat searing methods we cover in our guide on grilling steak. Once you have them down, you can tackle any roasting recipe with confidence.
Effortless Cleanup and Proper Pan Care
Nobody wants a delicious meal to end with a dreaded, greasy cleanup session. The single most important tip I can give you is this: tackle the pan while it’s still warm. Trust me, those cooked-on bits are so much easier to remove before they set.
Just pour a little hot water or stock into the warm pan to deglaze it, gently scraping the bottom with a wooden spoon or spatula. This simple trick lifts away all that flavorful residue with minimal effort—and it’s the secret to an amazing pan gravy, too.
For really tough, burnt-on grease on a stainless steel pan, a paste of baking soda and water works wonders. Just let it sit for a bit, and it’ll scrub right off.
Taking care of your pan is what makes it last a lifetime. For instance, if you’re working with cast iron, seasoning is absolutely key. You can learn how to season cast iron pans to build up that beautiful, natural, non-stick surface over time.
Beyond the Basics: Advanced Roasting Tips
Ready to really level up your roasting game? Moving beyond the basics is all about mastering those small details that create unforgettable, restaurant-quality flavor right in your own kitchen.
Simple techniques like trussing a chicken might seem fussy, but it’s the secret to ensuring every single part cooks evenly. No more dry breasts and undercooked thighs. Another pro move is to dry-brine your meat a day or two ahead of time—it’s a game-changer for moisture and a perfectly seasoned crust.
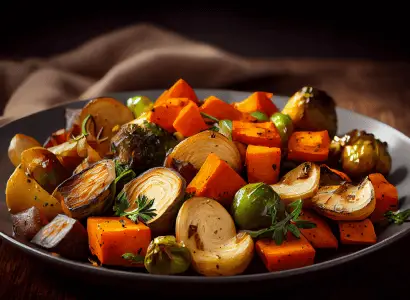
Don’t have a metal rack on hand? No problem. You can create a natural, edible rack using a bed of root vegetables like carrots, onions, and celery. This little trick not only elevates your meat for even cooking but also infuses the entire dish with an incredible depth of flavor as the vegetables caramelize in the pan drippings. It’s a perfect example of the role of seasonal ingredients in creating something truly special.
This growing passion for home cooking and getting creative in the kitchen is exactly why we’re seeing more people invest in quality cookware.
It’s not just a feeling; the numbers back it up. The global demand for roasting pans is projected to hit USD 1.8 billion by 2033, which points to a huge and growing culinary culture at home. You can dig into more insights on this market growth on verifiedmarketreports.com.
Got Roasting Pan Questions? We’ve Got Answers.
Even the most seasoned home cooks run into questions now and then. Think of this as your go-to spot for clear, simple answers to all those things you’ve wondered about roasting pans. We’ll help you tackle the common hiccups, from whether you really need a rack to why your veggies always seem to burn. Let’s build that kitchen confidence.